
This is a tutorial outlining the basic principles of using a particular type of vector image and manipulating it.
Written by A.R.Jeffery 15.04.10 using PSP ver 8.10. This method will work just as well in newer versions of Paintshop Pro Photo.
Some knowledge of Paintshoppro is assumed, but you are always welcome to email me if you have a problem.
Trial version of Corels Paint Shop Pro Photo. Here
Material Here
Extract the gradients to your psp gradients folder. Extract arj-swirl1.emf to My Documents or one of your preferred folders.
..~*~..
As you will have discovered by now, there are many different graphic formats. Some are native to particular graphic software packages, having said it's possible to open quite a few in Paintshoppro.
The image above was created in Inkscape. Free open source software that can to some extent emulate Adobe Illustrator. Although my image could be colored in Inkscape, I prefer to do it in psp.
Having created my vector design, I saved it in emf format-(enhanced meta file) a windows vector format. This can be opened in Paintshoppro and manipulated.
A point to note before we move on. Clipart also comes in wmf format-(windows meta files). Check your disks and the internet for copyright free images with this extension. These can also be re-coloured and enhanced.
..~*~..
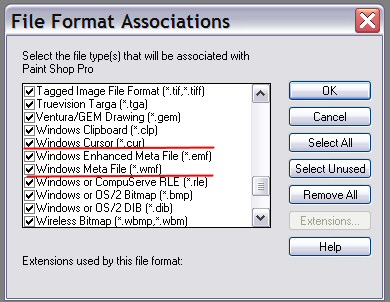
Ok lets get started. Open psp and go to File menu-Preferences-File Format Associations. Tick Windows Enhanced Meta File and Windows Meta File.
Open arj-swirl1.emf. The image below is how the file should look.
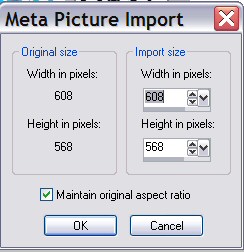
You can leave the proportions of the file or change them if you prefer. Click OK. Open your layer palette if it is not already open and click the little +(plus) sign to open the layers.
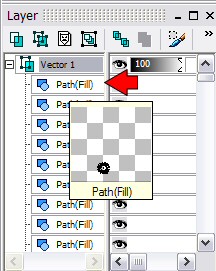
Each of these layers come be changed individually but for the purposes of this tutorial we are going to group them and change the complete image.
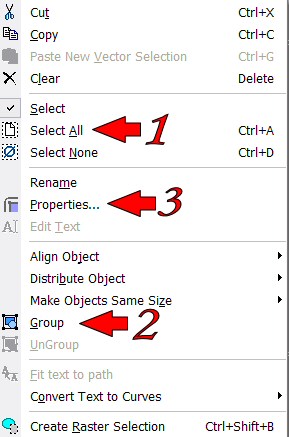
Using a Right mouse click on the first layer Path(fill), choose Select All from the pop up menu.(left mouse click).
Ok Right mouse click again, choose Group from the pop up menu. Now all the layers in your palette will have come together in one layer that is called Group.Last Right click on the group layer, choose properties from the pop up menu.
Below is the Vector properties box.
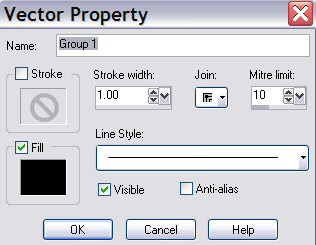
First tick in the Anti-alias box. This will smooth all the edges. Next a tick in the Stroke box. Stroke and fill will both have a black box, clicking in either of them allow the user to change the colors. If you right click in the black square the most recently used colours will be available. If you left click the material palette will come up. Choose a Color Gradient or pattern for the Stroke. The Stroke width and Line style can also be changed from the properties box, play around with the options. Now click in the Fill box and again choose a Color Gradient or Pattern for the fill.
Once your are satisfied with your image, give it a unique name in the properties box, you can then go to psp's file menu and choose Export -Shape, put the same name in and click OK.
Inkscape
Tutorials
Home
Email
Handcoded in Notepad.
All graphics and website design.
©Anita
2002-2010
|