
Written by A.R.Jeffery 16.01.08
This tutorial was written using PSP ver 8.10
Some knowledge of Paintshoppro is assumed, but you are always welcome to email me if you have a problem.
You can download a Trial version of Corels Paint Shop Pro 12. Here
Materials Here
Cybias Screenworks Here
I have included two images for you to use, both are copyright free from Dover, or you may prefer to use one of your own.
Open your chosen image to your workspace. If you wish to resize your image do it now not when it is completed. Image-resize 85% Bicubic, take the tick out of:- resize all layers.
Selections-Select All, Selections-Float, Selections-De-float.
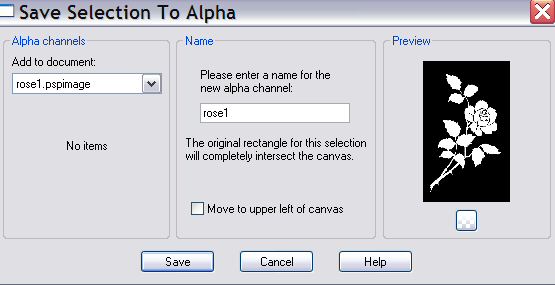
Selections-Load/Save Selection-Save Selection To Alpha Channel.
Do not de-select.
Floodfill your selected image with White-#ffffff or a light colour.
Effects-Plugins-Cybia-Screenworks-Boxdot. Click OK. Do not de-select.
Selections-Modify-Select Colour Range. Use the following settings.
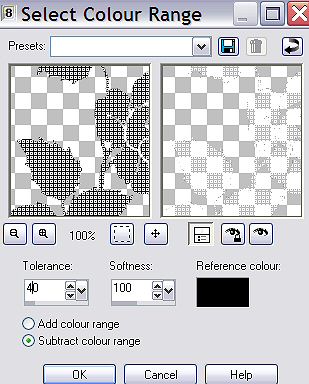
Do not de-select. Selections-Invert, hit the delete key once. Selection-Select None.
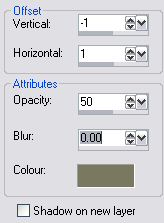
Effects-3D Effects-Drop Shadow. Choose a colour that will compliment your original colour. Do not however use Black-#000000 or dark strong colours. White-#ffffff is effective used as a shadow for this purpose assuming you did not use it to start with.
Add a new raster Layer. Selections-Load/Save Selection Load Selection from Alpha Channel.
Floodfill your selection with White. Selections-Modify-Contract-2. Hit The Delete key once. Deselect. Effects-3D-Drop Shadow, same settings as above.
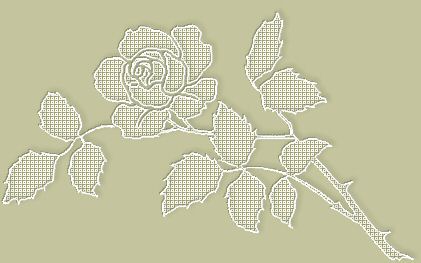
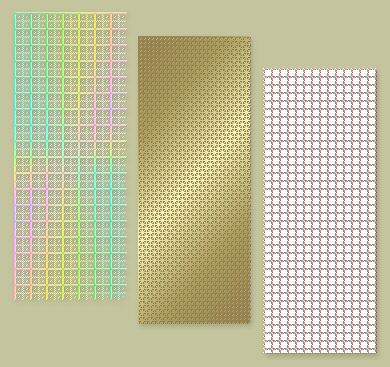
Viola! there you have a pretty textured rose. This method is also great for making textures for Scrapbooking or backgrounds and I am sure many other applications. Below are just a couple of examples.
Email
Tutorials
Home
Handcoded in Notepad.
All graphics and website design.
©Anita
2002-2008
|